Chapter 1 - Intro to NixOS
Welcome! This chapter will start you off on your journey with Nix/NixOS.
In this chapter we will…
- Install Nix on your current distro
- Go over using the basic parts of the Nix CLI
- Set up a basic NixOS VM with Nix
- Go over the basics of configuring a NixOS system
Installing Nix (Lix)
Before we even start with NixOS, we’re going to use Nix to build a VM we can test with. This VM will eventually be the system you’ll install.
We’ll actually be using a fork of Nix called Lix. This fork fixes some common bugs and turns on some features we’ll be using by default.
To install Lix, follow the Lix installation guide.
curl -sSf -L https://install.lix.systems/lix | sh -s -- installAfter installing, check that you can run Nix.
nix --versionBasic Nix CLI
Nix is a package manager that can run on many systems. One of the nice things it can do is run a package without needing to install it!
nix run "nixpkgs#python3"We can run Python!
nix shell "nixpkgs#python3"python --versionAnd we can run a shell with Python in scope!
Here we’re asking for python3 from nixpkgs (the primary package repository). In the first command we simply run the package’s default binary. In the second we bring the package into scope, meaning we can execute any commands it provides.
We’ll get into more later, just keep in mind we can run any package in nixpkgs like this!
Creating a NixOS VM with Nix
Now let’s get into creating a NixOS VM. This VM will eventually become the system you install on your actual device.
To start out, make a new folder to contain this project. In this new folder initialize a new Nix flake.
nix flake initThis should create a new file, flake.nix.
- flake.nix
A flake is a Nix “project”, it’s written as a nix expression (specifically an attr set).
{  description = "A very basic flake";
  inputs = {    nixpkgs.url = "github:nixos/nixpkgs?ref=nixos-unstable";  };
  outputs = { self, nixpkgs }: {    packages.x86_64-linux.hello = nixpkgs.legacyPackages.x86_64-linux.hello;    packages.x86_64-linux.default = self.packages.x86_64-linux.hello;  };}
Opening the flake.nix we can see the expression. Let’s walk through what each part means.
- We have an attribute named
descriptionthat’s a string. - We have another attribute called
inputsthat’s an attr set. This attr set contains an attribute namednixpkgs, which is another attr set. Within that we seturltogithub:nixos/nixpkgs?ref=nixos-unstable. - We have one more attribute named
outputsthat’s a function. This function takesself, which is a reference to this flake, andnixpkgs, which is the input we defined ininputs. - Within this function we return two packages (placed in the
packages.x86_64-linuxattr set). We sethelloequal to an example package innixpkgsand we setdefaultto a recursive reference to our ownhellopackage.
This is the basic structure of a flake. We have inputs, which define dependencies for our flake. And we have outputs, which is a function that will be passed those inputs to output something.
This “something” could be packages (As it is now), NixOS configurations (as we’ll do in a bit), and much more. Flakes are a general purpose way to share Nix code between projects.
Setting Up Flake.nix
We’re going to make a few changes to flake.nix to prepare for a NixOS config.
-
Remove the template lines that output the
helloanddefaultpackages.flake.nix {description = "A very basic flake";inputs = {nixpkgs.url = "github:nixos/nixpkgs?ref=nixos-unstable";};outputs = { self, nixpkgs }: {packages.x86_64-linux.hello = nixpkgs.legacyPackages.x86_64-linux.hello;packages.x86_64-linux.default = self.packages.x86_64-linux.hello;};} -
Create a
letstatement before our return inoutputs.flake.nix {description = "A very basic flake";inputs = {nixpkgs.url = "github:nixos/nixpkgs?ref=nixos-unstable";};outputs = {self,nixpkgs}: letin {};} -
Add
systemto the let block, we want this to bex86_64-linuxas that’s the system we’ll make a VM for (and install on).flake.nix {description = "A very basic flake";inputs = {nixpkgs.url = "github:nixos/nixpkgs?ref=nixos-unstable";};outputs = {self,nixpkgs}: letsystem = "x86_64-linux";in {};} -
Add
pkgsto the let block, we’llimport nixpkgshere, specifying the system we wantnixpkgsto target.flake.nix {description = "A very basic flake";inputs = {nixpkgs.url = "github:nixos/nixpkgs?ref=nixos-unstable";};outputs = {self,nixpkgs}: letsystem = "x86_64-linux";pkgs = import nixpkgs {inherit system;};in {};}A few new pieces of syntax here.
With these changes we’ve:
- Defined a new variable,
systemthat we’ll use in places we need to specify which system to use (like 2 lines later). - Instantiated
nixpkgs, told it to target oursystem, and stored it in a variable calledpkgs.
Writing Our NixOS Config
Now we’ll define a NixOS Config. A NixOS config is a nix expression that instructs on how to build a system. This configures everything from the bootloader and kernel to the DE the system will run.
We’ll make our flake export this NixOS config, allowing us to use it with the Nix CLI (like how nixpkgs exports python3).
These steps will use the string YOURNAME to represent your system’s name, you can set this to whatever you want, I’d recommend a kebab-case string.
-
First we’ll add the output. Note that the start of the flake file isn’t included here for brevity.
flake.nix {# ...outputs = {self,nixpkgs,}: letsystem = "x86_64-linux";pkgs = import nixpkgs {inherit system;};in {nixosConfigurations.YOURNAME = nixpkgs.lib.nixosSystem {};};}Here we’re making a function call to
nixpkgs.lib.nixosSystem, we’re passing an attr set as an argument. -
In this attr set, add a basic system configuration. We’ll go over what it means in a sec.
flake.nix {outputs = {self,nixpkgs}: letsystem = "x86_64-linux";pkgs = import nixpkgs {inherit system;};in {nixosConfigurations.YOURNAME = nixpkgs.lib.nixosSystem {inherit system pkgs;modules = [{}];};};}Here we’re doing 2 things
- Inheritting
systemandpkgs, telling NixOS what system we’re building for and what packages to use. - Declaring an empty NixOS module. We’ll fill this out next.
- Inheritting
-
Configure our NixOS system. In the attr set we’re passing as the only item to the
modulesarray, we’ll set some basic options. In this code block,YOURUSERcan be replaced with the username you wish to use, I’d recommend an all lowercase string.flake.nix {nixosConfigurations.YOURNAME = nixpkgs.lib.nixosSystem {inherit system pkgs;modules = [{system.stateVersion = "24.11";users.users.YOURUSER = {isNormalUser = true;password = "asdf"; # Change as desired, only for testing!extraGroups = ["networkmanager" "wheel"]; # No commas between array items!};services.qemuGuest.enable = true;}];};}Big config here, let’s break it down.
system.stateVersionsets the major version of NixOS to use.users.users.YOURUSERconfigures your account to be a normal user, sets your password toasdf, and makes you a sudoer.services.qemuGuest.enableenables some features that’ll make the VM nicer to use.
We now have a very basic config set up, let’s boot it!
Running The VM
We have now configured a basic NixOS VM! With that small Nix expression we’ve represented a minimal NixOS system with one user.
On an actual NixOS system we’d try to switch to this config, but we’ll utilize a different NixOS feature to run a VM instead.
NixOS exports a package under every system config called build.vm that builds and runs a VM image for us!
Replace YOURNAME in the following command with the name you configured for your system.
nix run .#nixosConfigurations.YOURNAME.config.system.build.vmThis is similar to what we did with nixpkgs#python3 above. Instead of nixpkgs we’re grabbing from the flake in the current directory (.). And the package we want is nixosConfigurations.YOURNAME.config.system.build.vm.
Run the command and wait for the VM to start. Use the username and password you configured above to login.
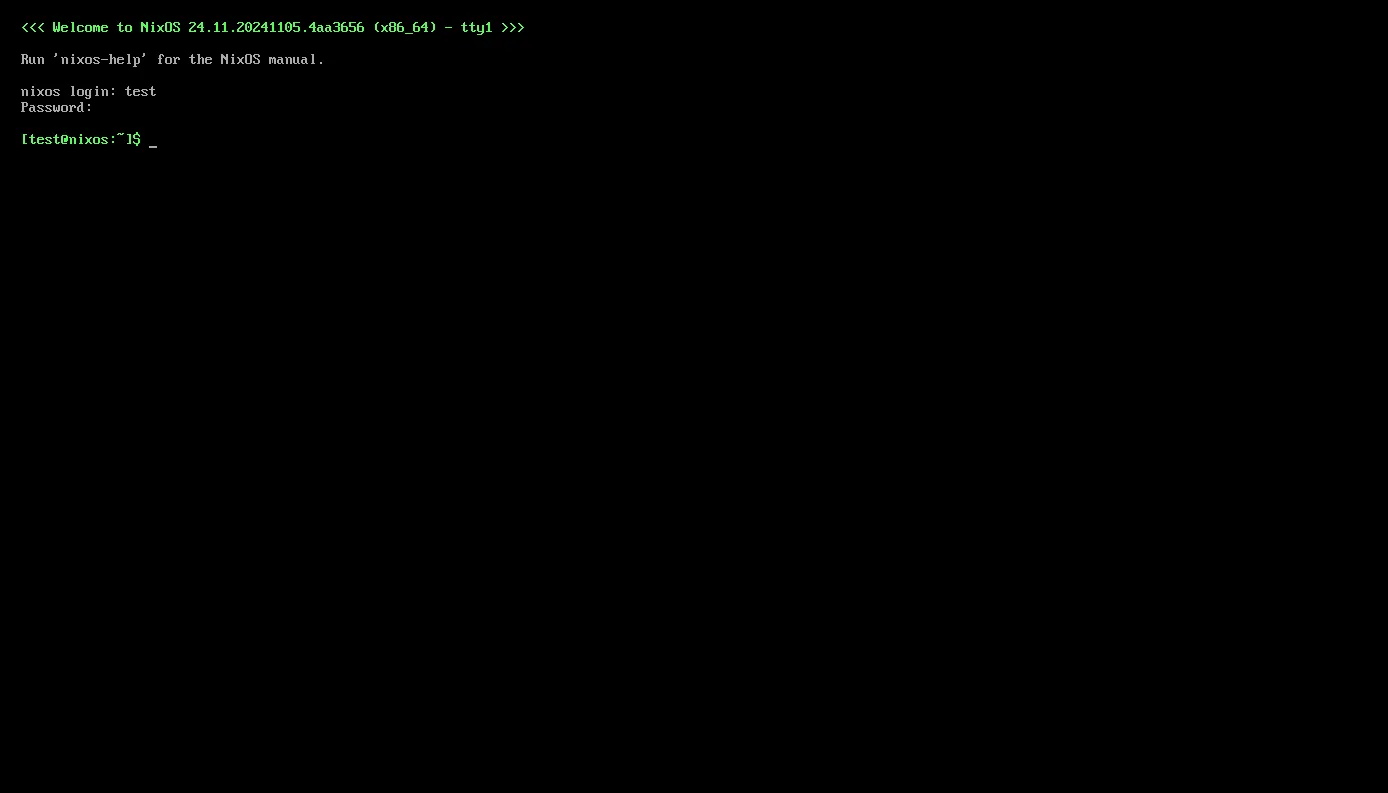
We’ve now successfully started a NixOS VM!
Separating Out Our Config
Right now we’re configuring everything within flake.nix. While this works, it can get a bit messy to have everything in one file as you’ll likely set many options.
To fix this, instead of defining our module inline we can separate it out into another nix file.
- Create a new file called
config.nix.- flake.nix
- flake.lock
- …
- config.nix
- In this file we’ll put another Nix expression. But unlike
flake.nix(where the top-level expression is an attr set), we’ll make this top-level expression a function.Here we’re defining a function that takes one argument, an attr set. NixOS will pass many attributes to us through this set, but for now we only wantconfig.nix {pkgs, ...}: {}pkgs. - Now, we can move the code we previously had inline…
flake.nix {nixosConfigurations.YOURNAME = nixpkgs.lib.nixosSystem {inherit system pkgs;modules =[{system.stateVersion = "24.11";users.users.YOURUSER = {isNormalUser = true;password = "asdf";extraGroups = ["networkmanager" "wheel"];};services.qemuGuest.enable = true;}];};} - And move it over to
config.nix.config.nix {pkgs, ...}: {system.stateVersion = "24.11";users.users.YOURUSER = {isNormalUser = true;password = "asdf";extraGroups = ["networkmanager" "wheel"];};services.qemuGuest.enable = true;} - Finally, we need to tell NixOS about
config.nix, we do this by putting it inmodules.flake.nix {nixosConfigurations.YOURNAME = nixpkgs.lib.nixosSystem {inherit system pkgs;modules = [./config.nix]; # Note the lack of quotes!};}
Run the VM again, make sure the system still builds and works.
nix run .#nixosConfigurations.YOURNAME.config.system.build.vmCustomization
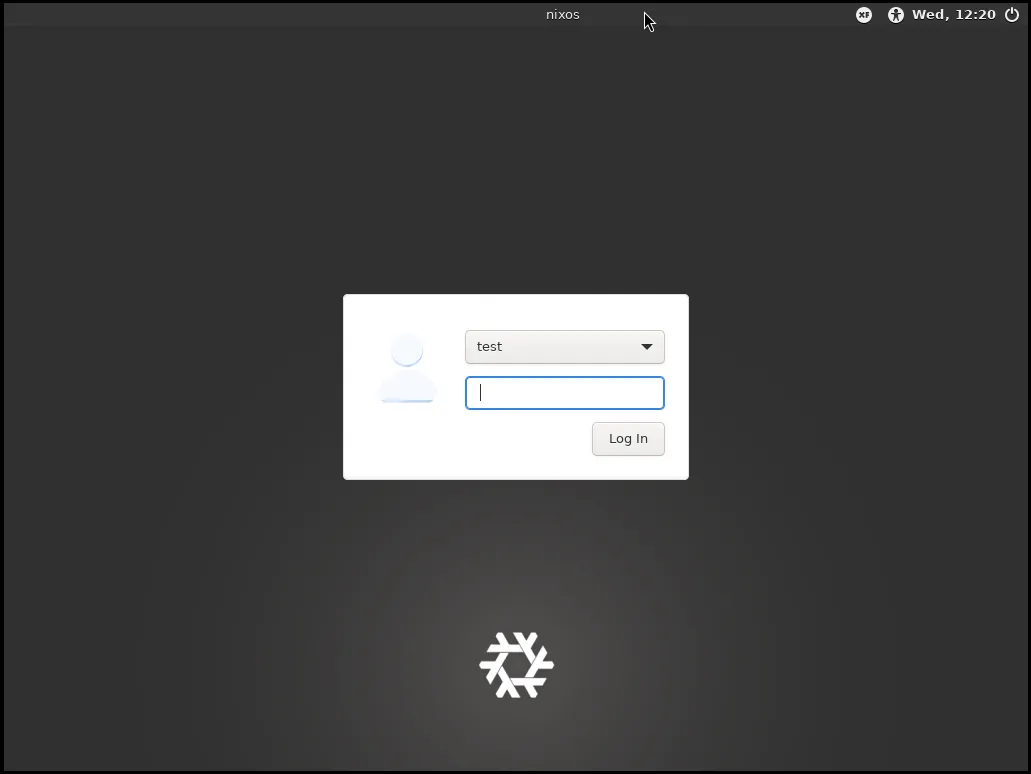
Now for the fun stuff! Let’s try adding a DE to the system.
I’ll use XFCE here for simplicity, but feel free to change this later!
{pkgs, ...}: {  # ...
  services.xserver.enable = true;  services.xserver.desktopManager.xfce.enable = true;}
Adding a DE is as simple as this! Opposed to imperatively installing a package like with other distros, we declaratively enable the ones that we want.
We’ll get into how we can find more options and packages later. For now, try running the VM and check out XFCE.
Configuring Nix with Nix
Before we do anything else we’re going to configure Nix within our system. This way when we install, Nix will be setup how we expect it.
{pkgs, ...}: {
  # ...
  nix = {    channel.enable = false;    package = pkgs.lix;    settings = {      experimental-features = [        "nix-command"        "flakes"      ];      auto-optimise-store = true;    };    gc = {      automatic = true;      dates = "weekly";    };  };}
Big block here, let’s go over what this all does.
- We disable channels, they’re a different system usually used in place of flakes, but we like flakes so we’ll disable them.
- We set the underlying Nix implementation to be
lix, just like on our host system. - Next in
settingswe enable a fewnixoptions.- We enable a few experimental features, flakes and the new CLI (the CLI you’re using right now).
- We enable nix store opimization, makes stuff more space efficient.
- We configure garbage collection to run automatically once a week, I’ll explain what garbage collection is later.
Installing Programs
When installing programs or enabling features, there are two methods you can use.
Method 1: NixOS Options
Many popular programs or features have NixOS options built-in, this is how we can simply do services.xserver.desktopManager.xfce.enable = true; for example.
In order to find the options that are available to us, we can use the NixOS Option Search. This will show you all the options that NixOS provides.
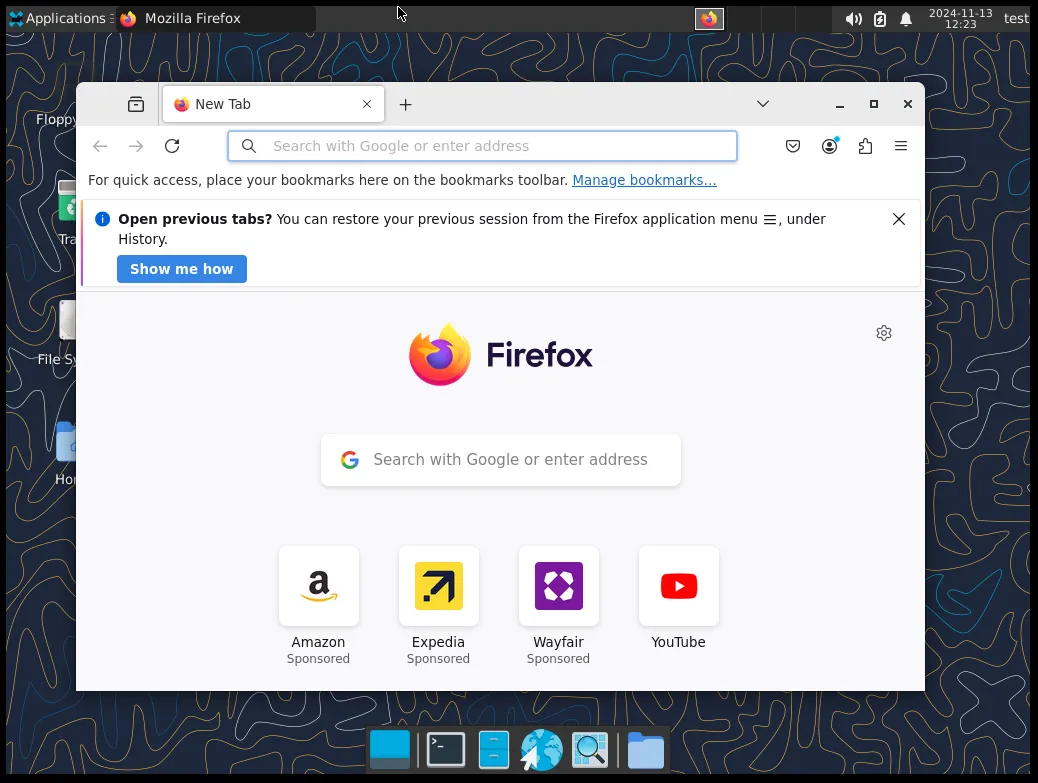
Example: Adding Firefox
Let’s say I want to use Firefox on my system. To do this I first look up “firefox” on the option search.
I can see that there’s an option, programs.firefox.enable. Like the name implies this option will enable firefox on my system.
Because NixOS provides an option for this, all I have to do is add it to my config.
{pkgs, ...}: {
  # ...
  programs.firefox.enable = true;}
When building my system, Nix will fetch the firefox package from nixpkgs for me and configure any other OS setting that might make using Firefox better (like setting it as a default browser).
Method 2: Using Nixpkgs Directly
If we can’t find our program through NixOS options search, that means there’s no NixOS options that can install and configure the application for us.
However, we can still use Nix packages search to see if the package we want is still available.
If it is available, you can add the package (gotten trough the pkgs attr set we receive as an arg) to environment.systemPackages to install it.
This will install the package and add its commands to your PATH (as well as add other things, like man pages). However it may not configure other parts of the system to work well with it, you may need to do this manually.
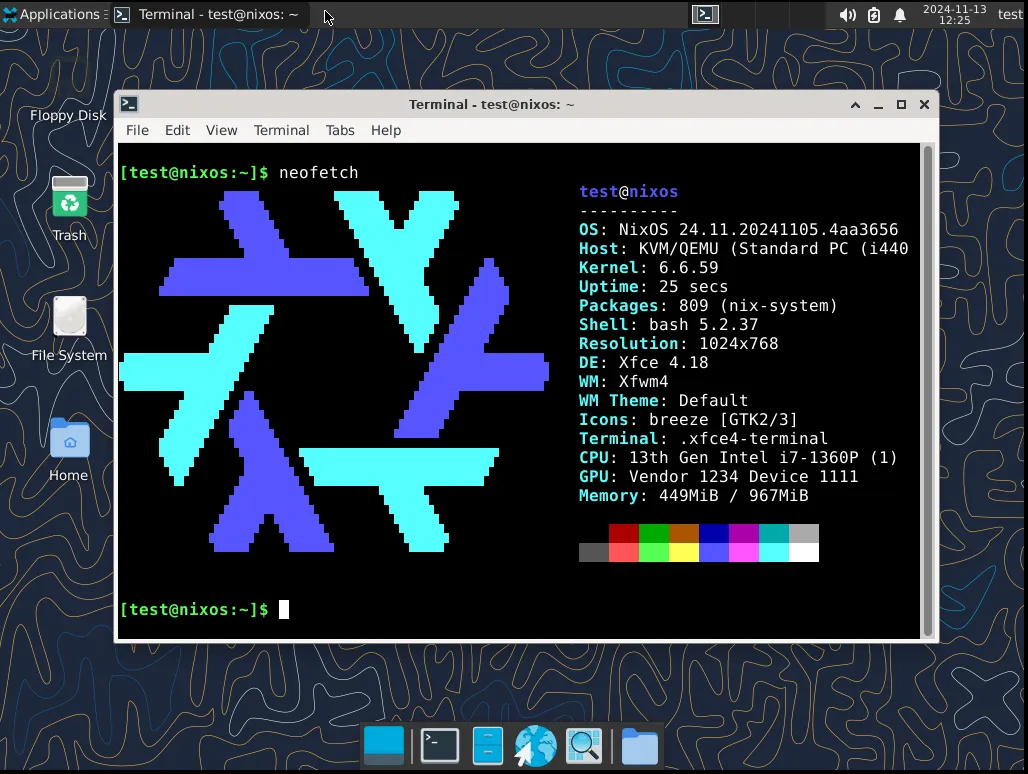
Example: Installing Neofetch
Let’s say I want to install neofetch on my system, however after checking for a NixOS option for it, it doesn’t exist!
But, after searching in Nixpkgs, I can see it’s listed!
To add neofetch to my system without having an option for it, I can use environment.systemPackages.
{pkgs, ...}: {
  # ...
environment.systemPackages = with pkgs; { neofetch };}We now have neofetch installed!
Experiment
From here I’d recommend trying out programs, options, etc. You now know the basics of configuring NixOS!
However, there’s much you must learn before you can install and daily drive. The following guides will go through some more advanced concepts.